At Dusk we pride ourselves not only on our expertise in nurturing our hedging from seedling to mature hedge, but also on our personalised support before and after purchase. Below you’ll find everything you need to know to prepare for, plant and nurture your Instant Haven. We are always on hand at the nursery to assist with questions.
If possible, dig your trench before your plants arrive. This gives you a chance to uncover hidden obstacles (like rocks or old pipes), check for proper drainage.
Your trench should be 450 W x 35 D x the length of your hedge. Set the soil you remove aside just incase you need to top it up a bit. If it’s not good soil get rid of it. Break up compacted areas at the bottom of the trench with a spade to help roots establish beyond the initial hole.
Avoid adding materials like gravel, compost, manure, water crystals, or fertiliser into the trench. These can disrupt root development or drainage. Compost and manure break down over time and can cause plants to sink, while fertiliser may burn tender young roots. Add these later.
If you’ve removed big plants or roots ensure you top up with good quality soil. Everything your hedge needs to survive is inside the bag – you may just need small top-ups. Check your drainage – ask your landscaping professional if you’re not sure how to do this.
Always lift hedge bags using both handles. Don’t drag or tug—this can damage the bags and the plants inside.
Always wear gloves when handingling the fibreglass rods that are inserted into the bags.
Please make sure driveways and access points are clear of extra vehicles or equipment. This helps us get your hedge as close as possible to the planting area.
You’ve prepped your beds and you’re ready to plant. Again be mindful of your soil type and drainage before going ahead (speak to a professional if you’re unsure).
Remove the fiberglass rods with gloves on. We would love these returned please – you can arrange for us to pick them up).
Slice open the ends of the bags and move your plants into the trench you have prepared.
Once your hedges are upright and evenly spaced:
Start by filling the trench halfway with the soil you set aside earlier. Gently firm it in around the roots (no need to compact it too tightly).
Water lightly to help settle the soil.
Finish backfilling, then water deeply—roughly 10–20 litres per metre, depending on the size of the plants. Ongoing watering is key while your hedge is establishing.
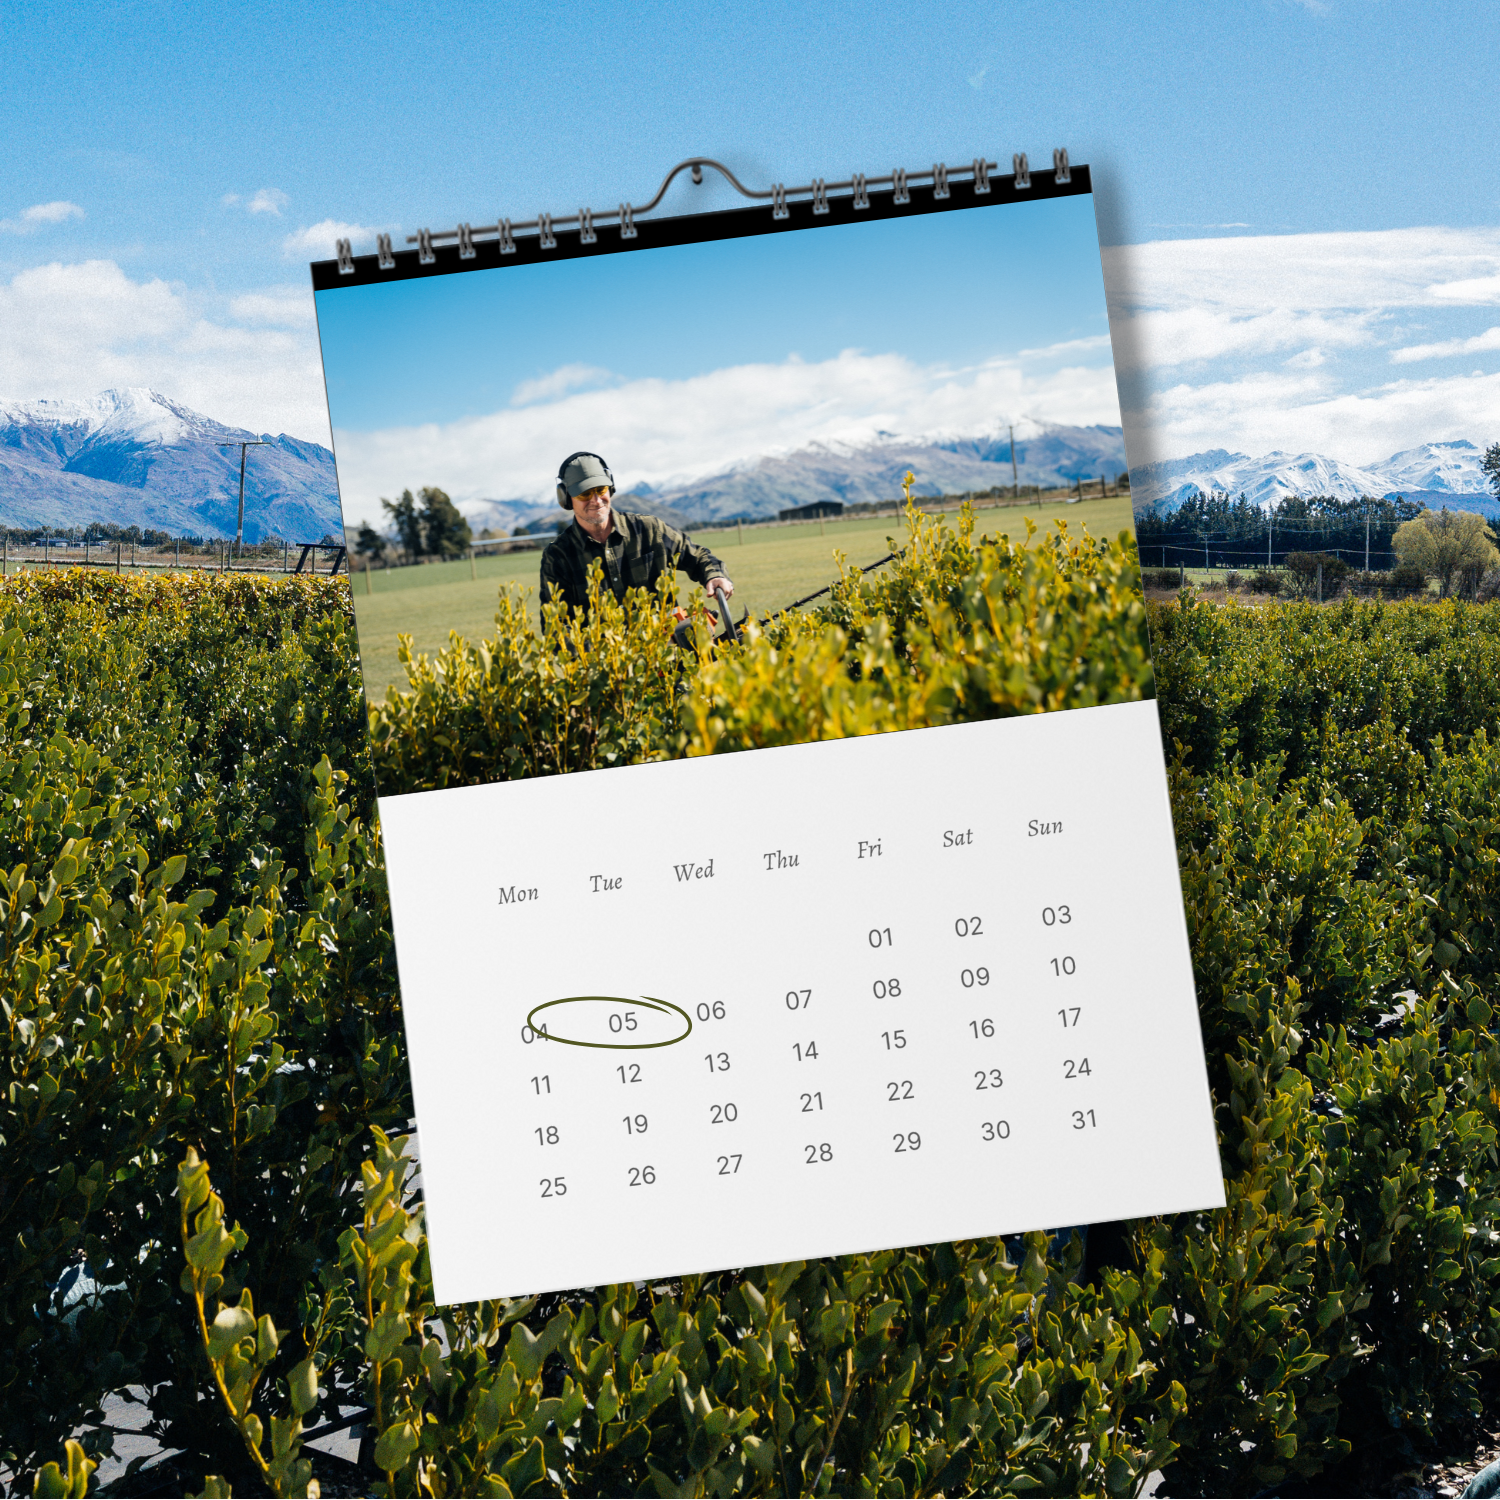
You can lightly trim your hedge after planting to give it a tidy shape. This does depend on the season so check with a professional. Top them to encourage thickness and growth – the height will come. Always consult your landscaping specialist for advice specific to your project.
A drip line system is ideal—especially one that regulates water flow evenly. Consistent, deep watering is essential at certain times of the year (consider also weather conditions and soil/geography) – consult your landscaping professional if you are not sure.
In spring and summer, apply a slow-release, balanced fertiliser if needed. Seawead and multifoods/NPK are great.
Spread mulch or wool around your hedge to help lock in moisture and keep weeds down. Keep it clear of the trunks to prevent rot. Avoid using fresh grass clippings—stick to aged organic material or purpose-made mulch.
Great time to plant, especially as soil warms and rainfall supports root growth:
Planting is okay with care. Extra watering is essential:
Planting now gives hedges time to settle before winter dormancy:
Planting is fine if the ground isn’t frozen or waterlogged
If you have any questions about our plants, pricing or how the process works please get in touch with our team today.